Masa Harina Tamales Recipe - El Salvador Pisques
Masa Harina Tamales Recipe - El Salvador Pisques
- Serves: 12 People
- Prepare Time: 90 minutes
- Cooking Time: 1 hour 45 m
- Calories: -
- Difficulty: Medium
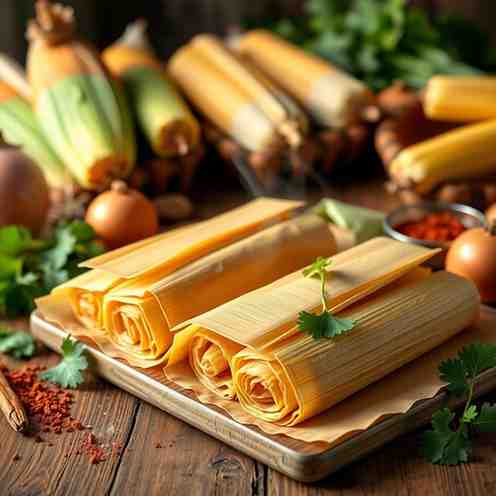
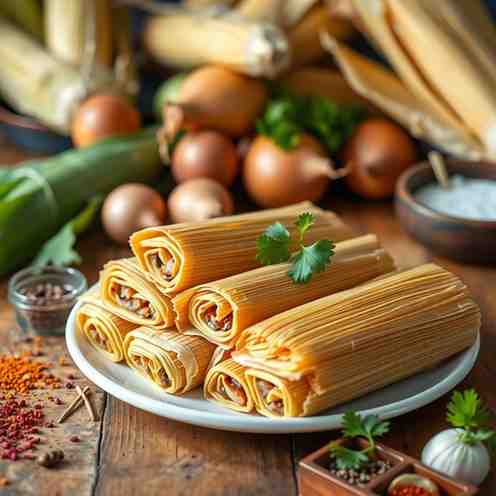
Welcome to the heart of Salvadoran cuisine! Get ready to savor the tradition with our definitive guide to authentic El Salvador Tamales Pisques. If you've been searching for a reliable, plant-based masa harina tamales recipe that truly delivers, you've found it. These aren't just any tamales; they're a celebration of flavor, featuring a tender, savory masa dough wrapped around a rich, creamy black bean filling, all lovingly steamed in fragrant banana leaves. The banana leaves are key here—they infuse the tamales with a subtle, earthy aroma that’s simply irresistible and sets them apart from corn husk varieties.
So, what makes them "pisques"? In El Salvador, "pisque" refers to tamales made without meat, often featuring beans as the star. While some relate it to the nixtamalization process, for our purposes, just know it means delicious, plant-based goodness! This recipe is designed to be clearer, more consistent, and easier to execute than anything else out there, ensuring your first (or hundredth!) batch is a resounding success.
Ready to dive in? These masa harina tamales are a true taste of El Salvador, featuring a smooth masa dough for tamales and a savory black bean filling, all wrapped and steamed in banana leaves. Perfect for cooking plant based meals!
Ingredients
Directions
- Before You Start (The Prep Plan for Success):
- Make Beans Ahead: If using dried beans, cook them a day or two in advance. This saves a lot of time on tamale day! You want them very tender.
- Set Up Your Tamale Station: Clear a large workspace. Have your prepped banana leaves, bean filling, and masa dough all within easy reach. This "assembly line" approach makes wrapping much smoother.
- Let's Get Cooking!
- Cook + Season the Beans (Thick, Spoonable Filling)
- If using dried beans: Rinse 1 cup of dried red beans. In a pot, cover with plenty of water (about 4-5 cups) and simmer until very tender, usually 1.5-2 hours. Drain, reserving about ½ cup of the cooking liquid.
- Blend/Mash: In a blender or food processor, combine the cooked beans, chopped onion, smashed garlic, and green bell pepper. Add the ½ cup of water or reserved bean broth. Blend until mostly smooth but still thick and spoonable, like a thick refried bean consistency. You can also mash by hand for a more rustic texture.
- Season & Thicken: Heat 1 tablespoon of vegetable oil in a large skillet over medium heat. Add the blended bean mixture. Stir in the salt and vegetable bouillon. Cook, stirring frequently, for 10-15 minutes, allowing any excess moisture to evaporate. The mixture should be thick enough to mound on a spoon without spreading, ensuring it won't leak from your tamales. Taste and adjust seasoning if needed. Set aside to cool slightly.
- Prep the Banana Leaves (Soften So They Don't Tear)
- Wash: If using fresh leaves, wipe them clean with a damp cloth. If using frozen, thaw them completely first.
- Soften (Explicit Method: Stovetop): Cut the banana leaves into manageable 8-10 inch squares. Briefly pass each leaf square over a low flame on your stovetop (or dip into very hot water) until it becomes pliable and changes to a brighter green color. This makes them flexible and less prone to tearing.
- Cut & Orient: Trim any thick, fibrous veins from the leaves. You'll want pieces roughly 8x8 to 10x10 inches. The smoother, shinier side of the leaf should face out (away from the food), while the slightly duller, rougher side faces in (towards the food).
- Quick Fixes for Cracking/Tearing: If a leaf tears, simply overlap a smaller piece underneath it to patch it up. Don't worry, the steaming process will seal everything!
- Make the Masa Dough (With Real Texture Cues)
- Combine Dry: In a large mixing bowl, combine the masa harina and salt.
- Add Liquid Gradually: Gradually add the warm water or broth, mixing with your hands until a soft dough forms. It might seem dry at first, but keep working it.
- Incorporate Oil & Rest: Add the ½ cup of vegetable oil. Knead the dough for 5-7 minutes until it's smooth and well-combined. Cover the bowl with a damp cloth or plastic wrap and let it rest for 15-20 minutes. This allows the masa to fully hydrate.
- "Correct Masa" Checks:
- Spread Test: Take a small spoonful of masa dough and spread it thinly on a banana leaf. It should spread easily without crumbling or tearing.
- Taste Test: The masa should taste lightly salty and pleasant.
- What to do if too dry/wet: If it feels too dry and cracks, add warm water, one tablespoon at a time, kneading well after each addition. If it's too wet and sticky, add masa harina, one tablespoon at a time, until the desired consistency is reached.
- Keep Covered: Always keep the masa dough covered with a damp cloth or plastic wrap to prevent it from drying out while you're assembling the tamales.
- Assemble (Clear Amounts + Photos)
- Masa Per Tamal: Take about ¼ cup of masa dough (roughly 2-3 tablespoons) and spread it into a thin rectangle or oval shape in the center of a prepped banana leaf square. It should be about ¼ inch thick.
- Add Bean Center: Place about 1-2 tablespoons of the cooled bean filling in the center of the masa.
- Fold Tightly (But Not Over-Tight): Carefully fold one side of the banana leaf over the filling and masa, then roll it up, creating a neat packet. Fold the ends of the banana leaf over to seal the tamal. The goal is to make it snug enough to hold its shape but not so tight that the masa can't expand slightly during steaming.
- Seal + Tie/Wrap Consistently: Secure each tamal by tying it with kitchen twine, wrapping it with a strip of aluminum foil, or using a strip of parchment paper. This keeps them from unfolding in the steamer.
- Steam (The Clearest Section on the Internet!)
- Pot Setup: Place a steamer rack at the bottom of a large pot. If you don't have a rack, you can use crumpled aluminum foil balls. Line the bottom of the rack with extra banana leaf scraps (this adds flavor and protects the tamales from direct heat).
- Water Line: Pour about 2-3 inches of water into the pot below the steamer rack. Crucially, the water should never submerge the tamales.
- Stack Tamales: Arrange the assembled tamales upright (or on their sides if space is tight) on the steamer rack. Don't pack them too tightly; allow some space for steam to circulate.
- Steam Time & Guidance: Cover the pot tightly with a lid. Bring the water to a boil, then reduce heat to a steady simmer. Steam the tamales for 1 hour 30 minutes to 1 hour 45 minutes. Check the water level periodically and add more hot water if needed to prevent the pot from boiling dry.
- Doneness: A tamal is done when the masa feels firm and set, and it easily peels away from the banana leaf without sticking. If it's still sticky, steam for another 15-20 minutes and re-check. This directly resolves the "boiled vs steamed" SERP confusion – we are definitely steaming here!
- Rest, Then Serve
- Rest Time: Once steamed, turn off the heat but leave the tamales in the covered pot for 10-15 minutes. This resting period allows the masa to firm up further and improves the overall texture. It also prevents burns when handling!
- Serving Ideas: Unwrap and serve your delicious Tamales Pisques warm. They're fantastic on their own, or you can enjoy them with a side of Salvadoran crema (plant-based if preferred), a sprinkle of queso fresco (vegan alternative), or a cup of coffee. They also pair wonderfully with fresh salsa or curtido.
Masa Harina Tamales Recipe - El Salvador Pisques

- Serves: 12 People
- Prepare Time: 90 minutes
- Cooking Time: 1 hour 45 m
- Calories: -
- Difficulty: Medium
Welcome to the heart of Salvadoran cuisine! Get ready to savor the tradition with our definitive guide to authentic El Salvador Tamales Pisques. If you've been searching for a reliable, plant-based masa harina tamales recipe that truly delivers, you've found it. These aren't just any tamales; they're a celebration of flavor, featuring a tender, savory masa dough wrapped around a rich, creamy black bean filling, all lovingly steamed in fragrant banana leaves. The banana leaves are key here—they infuse the tamales with a subtle, earthy aroma that’s simply irresistible and sets them apart from corn husk varieties.
So, what makes them "pisques"? In El Salvador, "pisque" refers to tamales made without meat, often featuring beans as the star. While some relate it to the nixtamalization process, for our purposes, just know it means delicious, plant-based goodness! This recipe is designed to be clearer, more consistent, and easier to execute than anything else out there, ensuring your first (or hundredth!) batch is a resounding success.
Ready to dive in? These masa harina tamales are a true taste of El Salvador, featuring a smooth masa dough for tamales and a savory black bean filling, all wrapped and steamed in banana leaves. Perfect for cooking plant based meals!
Ingredients
Directions
- Before You Start (The Prep Plan for Success):
- Make Beans Ahead: If using dried beans, cook them a day or two in advance. This saves a lot of time on tamale day! You want them very tender.
- Set Up Your Tamale Station: Clear a large workspace. Have your prepped banana leaves, bean filling, and masa dough all within easy reach. This "assembly line" approach makes wrapping much smoother.
- Let's Get Cooking!
- Cook + Season the Beans (Thick, Spoonable Filling)
- If using dried beans: Rinse 1 cup of dried red beans. In a pot, cover with plenty of water (about 4-5 cups) and simmer until very tender, usually 1.5-2 hours. Drain, reserving about ½ cup of the cooking liquid.
- Blend/Mash: In a blender or food processor, combine the cooked beans, chopped onion, smashed garlic, and green bell pepper. Add the ½ cup of water or reserved bean broth. Blend until mostly smooth but still thick and spoonable, like a thick refried bean consistency. You can also mash by hand for a more rustic texture.
- Season & Thicken: Heat 1 tablespoon of vegetable oil in a large skillet over medium heat. Add the blended bean mixture. Stir in the salt and vegetable bouillon. Cook, stirring frequently, for 10-15 minutes, allowing any excess moisture to evaporate. The mixture should be thick enough to mound on a spoon without spreading, ensuring it won't leak from your tamales. Taste and adjust seasoning if needed. Set aside to cool slightly.
- Prep the Banana Leaves (Soften So They Don't Tear)
- Wash: If using fresh leaves, wipe them clean with a damp cloth. If using frozen, thaw them completely first.
- Soften (Explicit Method: Stovetop): Cut the banana leaves into manageable 8-10 inch squares. Briefly pass each leaf square over a low flame on your stovetop (or dip into very hot water) until it becomes pliable and changes to a brighter green color. This makes them flexible and less prone to tearing.
- Cut & Orient: Trim any thick, fibrous veins from the leaves. You'll want pieces roughly 8x8 to 10x10 inches. The smoother, shinier side of the leaf should face out (away from the food), while the slightly duller, rougher side faces in (towards the food).
- Quick Fixes for Cracking/Tearing: If a leaf tears, simply overlap a smaller piece underneath it to patch it up. Don't worry, the steaming process will seal everything!
- Make the Masa Dough (With Real Texture Cues)
- Combine Dry: In a large mixing bowl, combine the masa harina and salt.
- Add Liquid Gradually: Gradually add the warm water or broth, mixing with your hands until a soft dough forms. It might seem dry at first, but keep working it.
- Incorporate Oil & Rest: Add the ½ cup of vegetable oil. Knead the dough for 5-7 minutes until it's smooth and well-combined. Cover the bowl with a damp cloth or plastic wrap and let it rest for 15-20 minutes. This allows the masa to fully hydrate.
- "Correct Masa" Checks:
- Spread Test: Take a small spoonful of masa dough and spread it thinly on a banana leaf. It should spread easily without crumbling or tearing.
- Taste Test: The masa should taste lightly salty and pleasant.
- What to do if too dry/wet: If it feels too dry and cracks, add warm water, one tablespoon at a time, kneading well after each addition. If it's too wet and sticky, add masa harina, one tablespoon at a time, until the desired consistency is reached.
- Keep Covered: Always keep the masa dough covered with a damp cloth or plastic wrap to prevent it from drying out while you're assembling the tamales.
- Assemble (Clear Amounts + Photos)
- Masa Per Tamal: Take about ¼ cup of masa dough (roughly 2-3 tablespoons) and spread it into a thin rectangle or oval shape in the center of a prepped banana leaf square. It should be about ¼ inch thick.
- Add Bean Center: Place about 1-2 tablespoons of the cooled bean filling in the center of the masa.
- Fold Tightly (But Not Over-Tight): Carefully fold one side of the banana leaf over the filling and masa, then roll it up, creating a neat packet. Fold the ends of the banana leaf over to seal the tamal. The goal is to make it snug enough to hold its shape but not so tight that the masa can't expand slightly during steaming.
- Seal + Tie/Wrap Consistently: Secure each tamal by tying it with kitchen twine, wrapping it with a strip of aluminum foil, or using a strip of parchment paper. This keeps them from unfolding in the steamer.
- Steam (The Clearest Section on the Internet!)
- Pot Setup: Place a steamer rack at the bottom of a large pot. If you don't have a rack, you can use crumpled aluminum foil balls. Line the bottom of the rack with extra banana leaf scraps (this adds flavor and protects the tamales from direct heat).
- Water Line: Pour about 2-3 inches of water into the pot below the steamer rack. Crucially, the water should never submerge the tamales.
- Stack Tamales: Arrange the assembled tamales upright (or on their sides if space is tight) on the steamer rack. Don't pack them too tightly; allow some space for steam to circulate.
- Steam Time & Guidance: Cover the pot tightly with a lid. Bring the water to a boil, then reduce heat to a steady simmer. Steam the tamales for 1 hour 30 minutes to 1 hour 45 minutes. Check the water level periodically and add more hot water if needed to prevent the pot from boiling dry.
- Doneness: A tamal is done when the masa feels firm and set, and it easily peels away from the banana leaf without sticking. If it's still sticky, steam for another 15-20 minutes and re-check. This directly resolves the "boiled vs steamed" SERP confusion – we are definitely steaming here!
- Rest, Then Serve
- Rest Time: Once steamed, turn off the heat but leave the tamales in the covered pot for 10-15 minutes. This resting period allows the masa to firm up further and improves the overall texture. It also prevents burns when handling!
- Serving Ideas: Unwrap and serve your delicious Tamales Pisques warm. They're fantastic on their own, or you can enjoy them with a side of Salvadoran crema (plant-based if preferred), a sprinkle of queso fresco (vegan alternative), or a cup of coffee. They also pair wonderfully with fresh salsa or curtido.
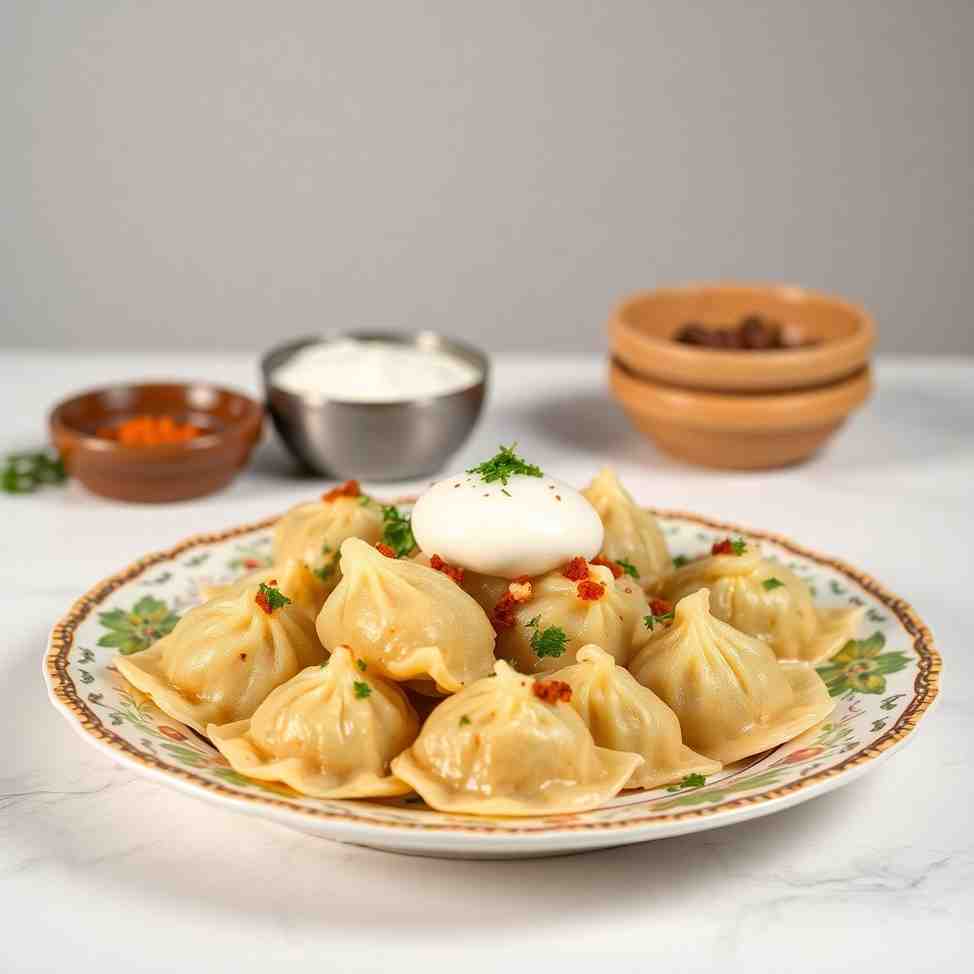
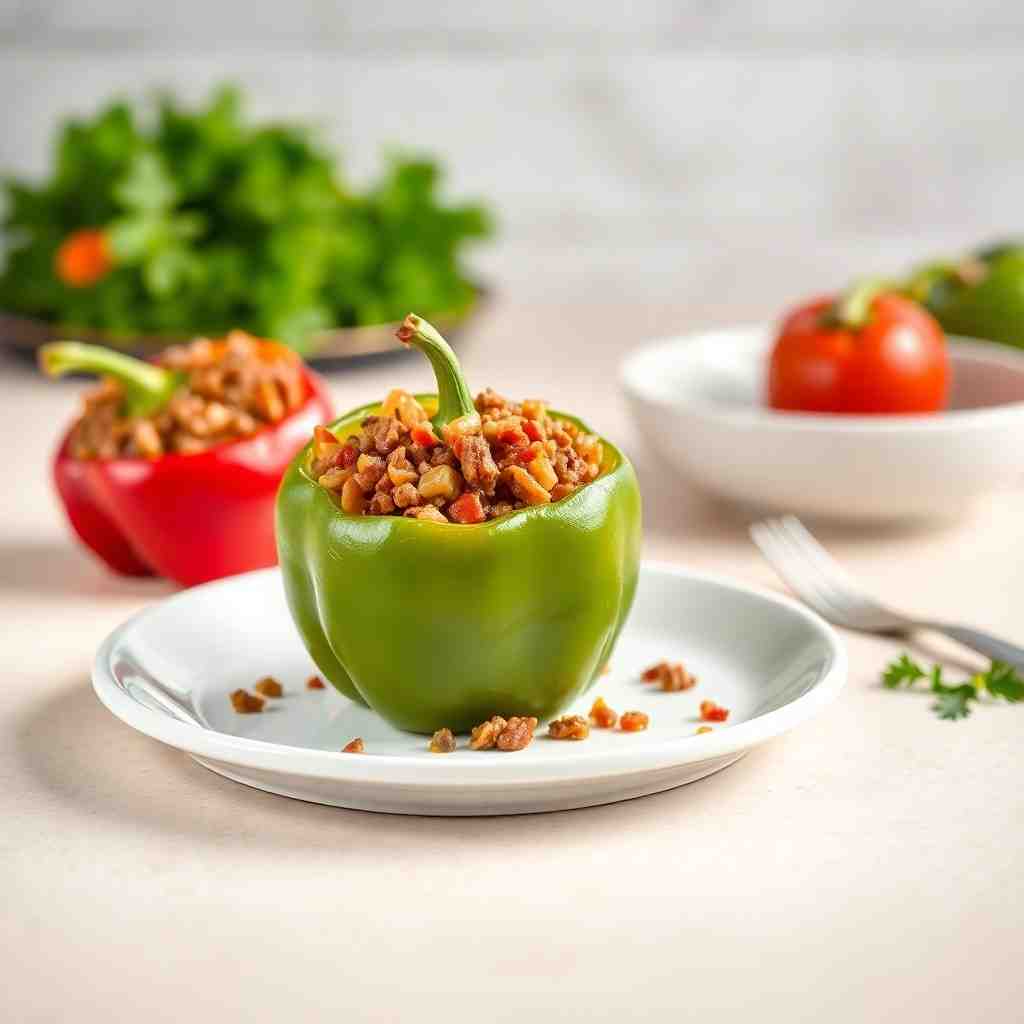
You may also like


Hey there! I’m just someone who seriously loves good food and believes that cooking doesn’t have to be complicated to be amazing. Whether it’s a quick weeknight dinner or a cozy weekend meal, I’m all about sharing easy, tasty recipes that actually work.