Flaky Roti Paratha - Easy Recipe & Tips
Flaky Roti Paratha - Easy Recipe & Tips
- Serves: 8 People
- Prepare Time: 45 minutes
- Cooking Time: 25 minutes
- Calories: -
- Difficulty: Medium
Ever dreamt of making those incredibly flaky roti paratha you find at your favorite Indian or Malaysian restaurant? Well, get ready, because your dream is about to become a delicious reality! This isn't just another roti recipe; it's the definitive guide to crafting the perfect, melt-in-your-mouth flaky roti prata right in your own kitchen. Often called roti canai in other parts of the world, this versatile Indian flatbread is a true culinary marvel, perfect for any dinner recipes or meal recipes. Forget complicated baking recipes – we're going to show you a simple, unified coil lamination method that guarantees that signature flakiness and a truly delicious recipe experience. Whether you're a seasoned chef or just starting your culinary journey, you’ll learn how to master this incredible flatbread and impress everyone with your homemade Indian recipes. Let's get cooking!
Ingredients
Directions
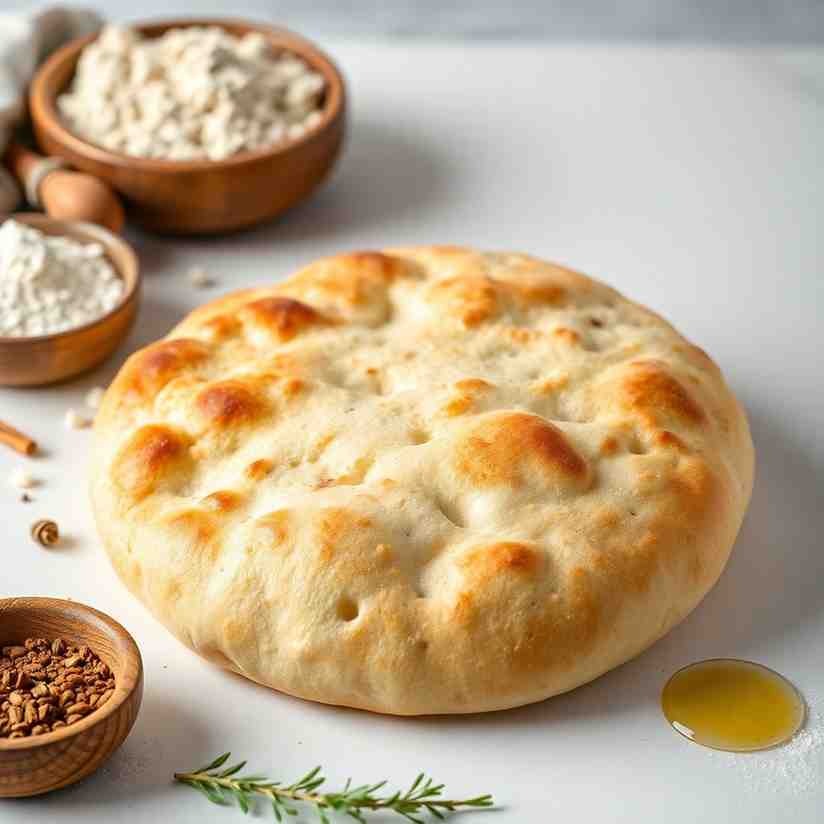
- Mix the Dough: In a large mixing bowl, combine the flour, salt, and sugar. Make a well in the center and pour in the warm water and melted butter/ghee. Gradually mix with your hands or a stand mixer with a dough hook until a shaggy dough forms.
- Knead to Smoothness: Transfer the dough to a lightly floured surface and knead for 10-15 minutes until it's smooth, elastic, and no longer sticky. It should bounce back when gently poked.
- Rest with Oil: Divide the dough into 8-10 equal balls. Lightly coat each dough ball generously with vegetable oil or ghee. Place them back in the bowl, cover tightly with plastic wrap, and let them rest at room temperature for at least 2 hours, or ideally, overnight in the refrigerator. This resting period is crucial for developing elasticity and flakiness.
- Prepare Your Surface: Lightly oil a clean, flat work surface (like your countertop or a large cutting board). Make sure it's smooth and wide enough for stretching.
- Stretch the Dough (The Fun Part!): Take one oiled dough ball. Using your oiled hands, gently flatten it into a disc. Now, using the palms of your hands and fingers, begin to stretch the dough outwards from the center. The goal is to stretch it as thin as possible without tearing, aiming for a translucent, almost paper-thin sheet. Many experienced bakers will lift and slap the dough onto the oiled surface to help stretch it quickly and evenly. Don't worry if it tears a little; just pinch it back together and keep going.
- The Coil Lamination: Once stretched thin, gently fold the edges of the dough towards the center to form a rough rectangle. Now, starting from one end, tightly roll the dough into a spiral or coil. This coiling technique is what creates those amazing flaky layers in your roti paratha.
- Rest Again: Gently flatten the coiled dough slightly with your palm. Repeat the stretching and coiling process for all remaining dough balls. Cover the coiled dough balls and let them rest for another 15-20 minutes. This second rest helps the dough relax, making it easier to flatten and cook.
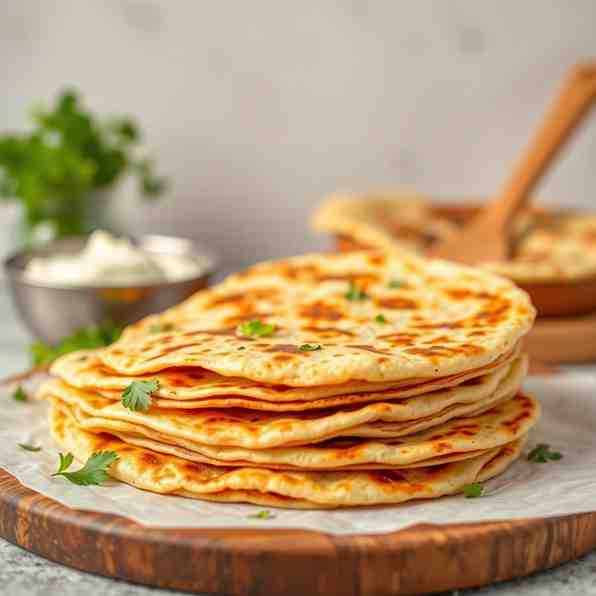
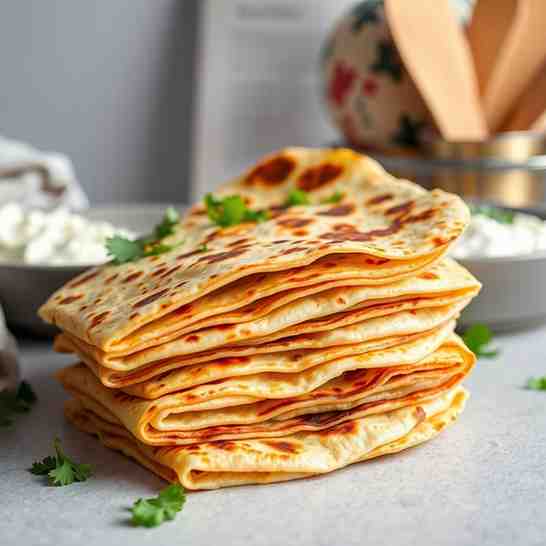
- Flatten and Cook: Heat a non-stick pan or griddle (tawa) over medium heat. Lightly oil the pan. Take a rested coiled dough ball and gently flatten it with your hands or a rolling pin into a disc about 6-8 inches in diameter. Don't press too hard, or you'll lose some of that flakiness.
- Fry Your Roti: Place the flattened roti prata onto the hot pan. Cook for 1-2 minutes per side, or until golden brown spots appear and the roti puffs up. Lightly brush with a little oil or ghee during cooking to enhance crispness and color.
- "Crush" for Flakiness: Once cooked, immediately remove the roti from the pan and, while still hot, gently "crush" or "clap" it between your palms. This helps to separate the internal layers, making it even flakier!
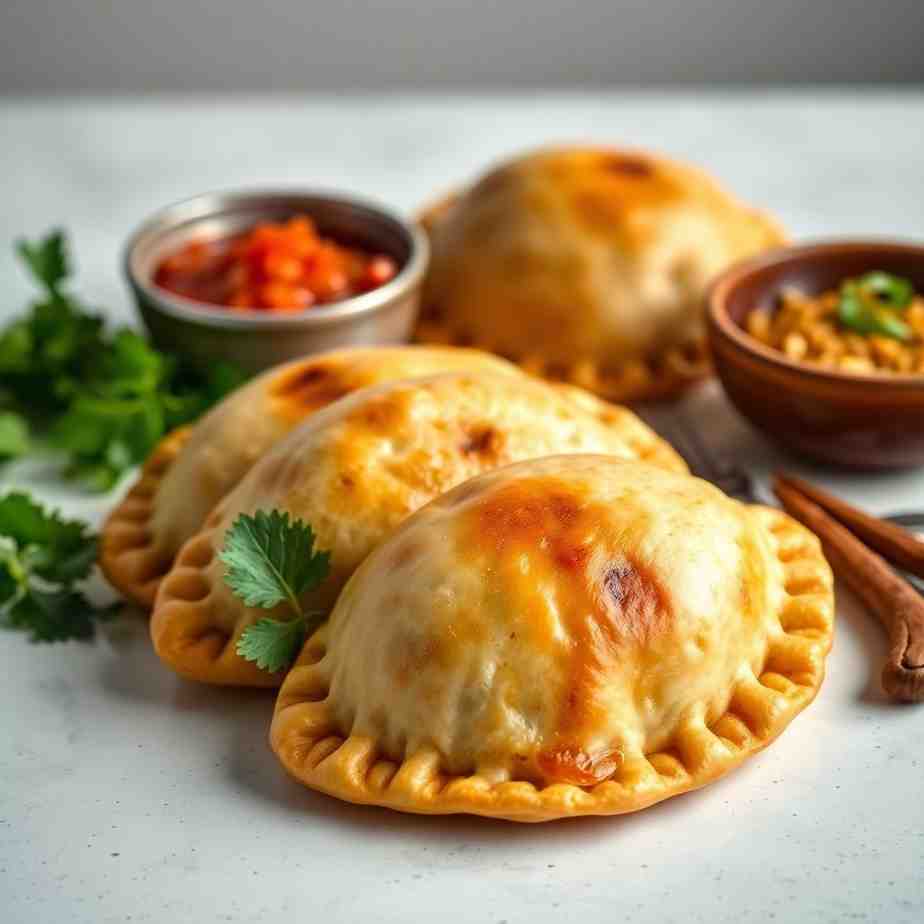
- Serve Warm: Serve your homemade flaky roti prata immediately with your favorite curry, dhal, or even a sprinkle of sugar for a sweet treat. Enjoy your delicious recipe!
Flaky Roti Paratha - Easy Recipe & Tips

- Serves: 8 People
- Prepare Time: 45 minutes
- Cooking Time: 25 minutes
- Calories: -
- Difficulty: Medium
Ever dreamt of making those incredibly flaky roti paratha you find at your favorite Indian or Malaysian restaurant? Well, get ready, because your dream is about to become a delicious reality! This isn't just another roti recipe; it's the definitive guide to crafting the perfect, melt-in-your-mouth flaky roti prata right in your own kitchen. Often called roti canai in other parts of the world, this versatile Indian flatbread is a true culinary marvel, perfect for any dinner recipes or meal recipes. Forget complicated baking recipes – we're going to show you a simple, unified coil lamination method that guarantees that signature flakiness and a truly delicious recipe experience. Whether you're a seasoned chef or just starting your culinary journey, you’ll learn how to master this incredible flatbread and impress everyone with your homemade Indian recipes. Let's get cooking!
Ingredients
Directions
- Mix the Dough: In a large mixing bowl, combine the flour, salt, and sugar. Make a well in the center and pour in the warm water and melted butter/ghee. Gradually mix with your hands or a stand mixer with a dough hook until a shaggy dough forms.
- Knead to Smoothness: Transfer the dough to a lightly floured surface and knead for 10-15 minutes until it's smooth, elastic, and no longer sticky. It should bounce back when gently poked.
- Rest with Oil: Divide the dough into 8-10 equal balls. Lightly coat each dough ball generously with vegetable oil or ghee. Place them back in the bowl, cover tightly with plastic wrap, and let them rest at room temperature for at least 2 hours, or ideally, overnight in the refrigerator. This resting period is crucial for developing elasticity and flakiness.
- Prepare Your Surface: Lightly oil a clean, flat work surface (like your countertop or a large cutting board). Make sure it's smooth and wide enough for stretching.
- Stretch the Dough (The Fun Part!): Take one oiled dough ball. Using your oiled hands, gently flatten it into a disc. Now, using the palms of your hands and fingers, begin to stretch the dough outwards from the center. The goal is to stretch it as thin as possible without tearing, aiming for a translucent, almost paper-thin sheet. Many experienced bakers will lift and slap the dough onto the oiled surface to help stretch it quickly and evenly. Don't worry if it tears a little; just pinch it back together and keep going.
- The Coil Lamination: Once stretched thin, gently fold the edges of the dough towards the center to form a rough rectangle. Now, starting from one end, tightly roll the dough into a spiral or coil. This coiling technique is what creates those amazing flaky layers in your roti paratha.
- Rest Again: Gently flatten the coiled dough slightly with your palm. Repeat the stretching and coiling process for all remaining dough balls. Cover the coiled dough balls and let them rest for another 15-20 minutes. This second rest helps the dough relax, making it easier to flatten and cook.
- Flatten and Cook: Heat a non-stick pan or griddle (tawa) over medium heat. Lightly oil the pan. Take a rested coiled dough ball and gently flatten it with your hands or a rolling pin into a disc about 6-8 inches in diameter. Don't press too hard, or you'll lose some of that flakiness.
- Fry Your Roti: Place the flattened roti prata onto the hot pan. Cook for 1-2 minutes per side, or until golden brown spots appear and the roti puffs up. Lightly brush with a little oil or ghee during cooking to enhance crispness and color.
- "Crush" for Flakiness: Once cooked, immediately remove the roti from the pan and, while still hot, gently "crush" or "clap" it between your palms. This helps to separate the internal layers, making it even flakier!
- Serve Warm: Serve your homemade flaky roti prata immediately with your favorite curry, dhal, or even a sprinkle of sugar for a sweet treat. Enjoy your delicious recipe!
You may also like


Hey there! I’m just someone who seriously loves good food and believes that cooking doesn’t have to be complicated to be amazing. Whether it’s a quick weeknight dinner or a cozy weekend meal, I’m all about sharing easy, tasty recipes that actually work.