Juicy Turkey Breast Recipe - Roast, Gravy & Veggies
Juicy Turkey Breast Recipe - Roast, Gravy & Veggies
- Serves: 6 People
- Prepare Time: 20 minutes
- Cooking Time: 2 hours
- Calories: -
- Difficulty: Medium
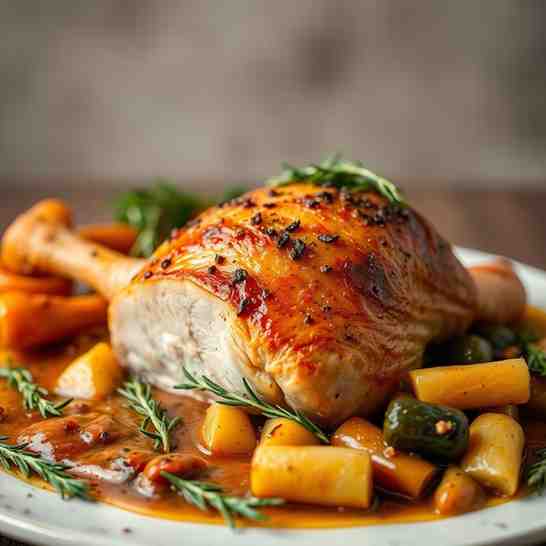
Ever dream of a perfectly juicy, tender turkey breast that practically melts in your mouth? You know, the kind with crispy skin, surrounded by savory roasted veggies, and swimming in a rich, homemade pan gravy that didn't come from a packet? Well, get ready to make that dream a delicious reality! This isn't just another turkey breast recipe; it's your go-to guide for a show-stopping meal that feels special without the stress of a whole bird.
Whether you're planning a small Thanksgiving gathering, a cozy Sunday dinner, or just want to get ahead with some amazing meal prep, this recipe for tender turkey breast is designed for you. We're talking about a foolproof method to ensure your turkey breast stays incredibly moist, plus how to whip up a real, flavorful gravy right from those pan drippings. Say goodbye to dry turkey and hello to your new favorite way to enjoy this classic dish!
Ingredients
Directions
- Prep the Turkey (10 minutes)First things first, pat your turkey breast super dry with paper towels. This helps the skin get nice and crispy. Season it generously all over with salt and pepper. If you have time, an optional short dry-brine (letting it sit seasoned in the fridge for a few hours or overnight) can work wonders for juiciness and flavor.
- Butter-Under-Skin Trick (The "Why It Works" in One Sentence)This is a game-changer! Gently use your fingers to loosen the skin over the breast meat without tearing it. Then, carefully slide 2 tablespoons of softened butter under the skin, spreading it evenly. This creates a barrier that bastes the meat from the inside out, keeping it unbelievably moist. Spread the remaining 2 tablespoons of butter on top of the skin.
- Build the Veggie Bed + Add LiquidIn your chosen roasting pan, scatter the chopped carrots, celery, onion, garlic, and fresh herbs. This creates a natural "rack" for your turkey, allowing air to circulate and preventing the bottom from getting soggy. Pour 1 cup of stock into the bottom of the pan. A shallow layer of stock helps collect those delicious turkey drippings, preventing them from scorching and adding moisture to your roasting environment. If using, add your optional flavor booster now (lemon zest, wine, or mustard).
- Roast Strategy (Simple + Dependable)Preheat your oven to 425°F (220°C). Place the turkey breast, skin-side up, on top of the veggie bed in the pan. Start roasting hot for about 15-20 minutes to get that beautiful golden-brown skin. Then, lower the oven temperature to 350°F (175°C) to finish cooking gently. If the skin starts to get too dark before the turkey is done, simply tent it loosely with aluminum foil.
- The Thermometer MomentThis is crucial! Begin checking the internal temperature after about 1 hour at 350°F. Insert your instant-read thermometer into the thickest part of the breast meat, making sure not to touch any bone. You want to pull the turkey out of the oven when it reaches 160-165°F (71-74°C). Don't worry, it will continue to cook a bit more as it rests!
- Rest Before SlicingOnce your turkey breast hits that target temperature, transfer it to a cutting board and tent it loosely with foil. Let it rest for at least 15-20 minutes. Why does this matter? Resting allows the juices to redistribute throughout the meat, ensuring every slice is incredibly tender and moist. If you cut it too soon, all those delicious juices will just run out onto your board!
- Make the Pan Gravy (Smooth, Not Lumpy)
- Strain + Defat the DrippingsWhile the turkey rests, pour all the pan drippings and vegetables into a fine-mesh strainer set over a heatproof measuring cup or bowl. Press down on the veggies to extract all their flavorful juices. You'll want about 1.5-2 cups of liquid total. Let the drippings sit for a few minutes, and the fat will rise to the top. Use a spoon to skim off as much of the fat as you can. You want about 2 tablespoons of fat remaining (if you have less, add a bit of butter to make up the difference).
- Make the Roux (or Slurry)Return the defatted drippings (and the 2 tablespoons of fat/butter) to your roasting pan or a medium saucepan over medium heat. Whisk in 2 tablespoons of all-purpose flour. Cook, whisking constantly, for 1-2 minutes until a thick paste forms and it smells a bit nutty. This is your roux! You want it to be a light golden color, not too dark for a classic Thanksgiving gravy.
- For a cornstarch/arrowroot swap: Instead of flour, make a slurry by whisking 1 tablespoon of cornstarch or arrowroot with 2 tablespoons of cold water. Add this mixture later, in step 3.
- Whisk in Stock + SeasonGradually whisk in 1 cup of fresh chicken or turkey stock to your roux, stirring constantly to prevent lumps. Bring the mixture to a simmer, whisking until it thickens to your desired "classic Thanksgiving gravy" consistency. If it's too thick, add a little more stock; too thin, let it simmer a bit longer. Taste and season with salt and pepper as needed. You want it rich and flavorful!
Juicy Turkey Breast Recipe - Roast, Gravy & Veggies

- Serves: 6 People
- Prepare Time: 20 minutes
- Cooking Time: 2 hours
- Calories: -
- Difficulty: Medium
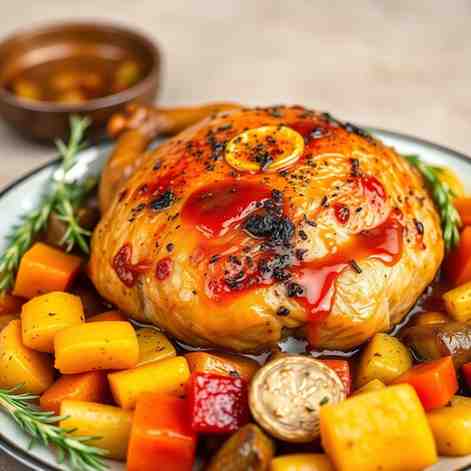
Ever dream of a perfectly juicy, tender turkey breast that practically melts in your mouth? You know, the kind with crispy skin, surrounded by savory roasted veggies, and swimming in a rich, homemade pan gravy that didn't come from a packet? Well, get ready to make that dream a delicious reality! This isn't just another turkey breast recipe; it's your go-to guide for a show-stopping meal that feels special without the stress of a whole bird.
Whether you're planning a small Thanksgiving gathering, a cozy Sunday dinner, or just want to get ahead with some amazing meal prep, this recipe for tender turkey breast is designed for you. We're talking about a foolproof method to ensure your turkey breast stays incredibly moist, plus how to whip up a real, flavorful gravy right from those pan drippings. Say goodbye to dry turkey and hello to your new favorite way to enjoy this classic dish!
Ingredients
Directions
- Prep the Turkey (10 minutes)First things first, pat your turkey breast super dry with paper towels. This helps the skin get nice and crispy. Season it generously all over with salt and pepper. If you have time, an optional short dry-brine (letting it sit seasoned in the fridge for a few hours or overnight) can work wonders for juiciness and flavor.
- Butter-Under-Skin Trick (The "Why It Works" in One Sentence)This is a game-changer! Gently use your fingers to loosen the skin over the breast meat without tearing it. Then, carefully slide 2 tablespoons of softened butter under the skin, spreading it evenly. This creates a barrier that bastes the meat from the inside out, keeping it unbelievably moist. Spread the remaining 2 tablespoons of butter on top of the skin.
- Build the Veggie Bed + Add LiquidIn your chosen roasting pan, scatter the chopped carrots, celery, onion, garlic, and fresh herbs. This creates a natural "rack" for your turkey, allowing air to circulate and preventing the bottom from getting soggy. Pour 1 cup of stock into the bottom of the pan. A shallow layer of stock helps collect those delicious turkey drippings, preventing them from scorching and adding moisture to your roasting environment. If using, add your optional flavor booster now (lemon zest, wine, or mustard).
- Roast Strategy (Simple + Dependable)Preheat your oven to 425°F (220°C). Place the turkey breast, skin-side up, on top of the veggie bed in the pan. Start roasting hot for about 15-20 minutes to get that beautiful golden-brown skin. Then, lower the oven temperature to 350°F (175°C) to finish cooking gently. If the skin starts to get too dark before the turkey is done, simply tent it loosely with aluminum foil.
- The Thermometer MomentThis is crucial! Begin checking the internal temperature after about 1 hour at 350°F. Insert your instant-read thermometer into the thickest part of the breast meat, making sure not to touch any bone. You want to pull the turkey out of the oven when it reaches 160-165°F (71-74°C). Don't worry, it will continue to cook a bit more as it rests!
- Rest Before SlicingOnce your turkey breast hits that target temperature, transfer it to a cutting board and tent it loosely with foil. Let it rest for at least 15-20 minutes. Why does this matter? Resting allows the juices to redistribute throughout the meat, ensuring every slice is incredibly tender and moist. If you cut it too soon, all those delicious juices will just run out onto your board!
- Make the Pan Gravy (Smooth, Not Lumpy)
- Strain + Defat the DrippingsWhile the turkey rests, pour all the pan drippings and vegetables into a fine-mesh strainer set over a heatproof measuring cup or bowl. Press down on the veggies to extract all their flavorful juices. You'll want about 1.5-2 cups of liquid total. Let the drippings sit for a few minutes, and the fat will rise to the top. Use a spoon to skim off as much of the fat as you can. You want about 2 tablespoons of fat remaining (if you have less, add a bit of butter to make up the difference).
- Make the Roux (or Slurry)Return the defatted drippings (and the 2 tablespoons of fat/butter) to your roasting pan or a medium saucepan over medium heat. Whisk in 2 tablespoons of all-purpose flour. Cook, whisking constantly, for 1-2 minutes until a thick paste forms and it smells a bit nutty. This is your roux! You want it to be a light golden color, not too dark for a classic Thanksgiving gravy.
- For a cornstarch/arrowroot swap: Instead of flour, make a slurry by whisking 1 tablespoon of cornstarch or arrowroot with 2 tablespoons of cold water. Add this mixture later, in step 3.
- Whisk in Stock + SeasonGradually whisk in 1 cup of fresh chicken or turkey stock to your roux, stirring constantly to prevent lumps. Bring the mixture to a simmer, whisking until it thickens to your desired "classic Thanksgiving gravy" consistency. If it's too thick, add a little more stock; too thin, let it simmer a bit longer. Taste and season with salt and pepper as needed. You want it rich and flavorful!
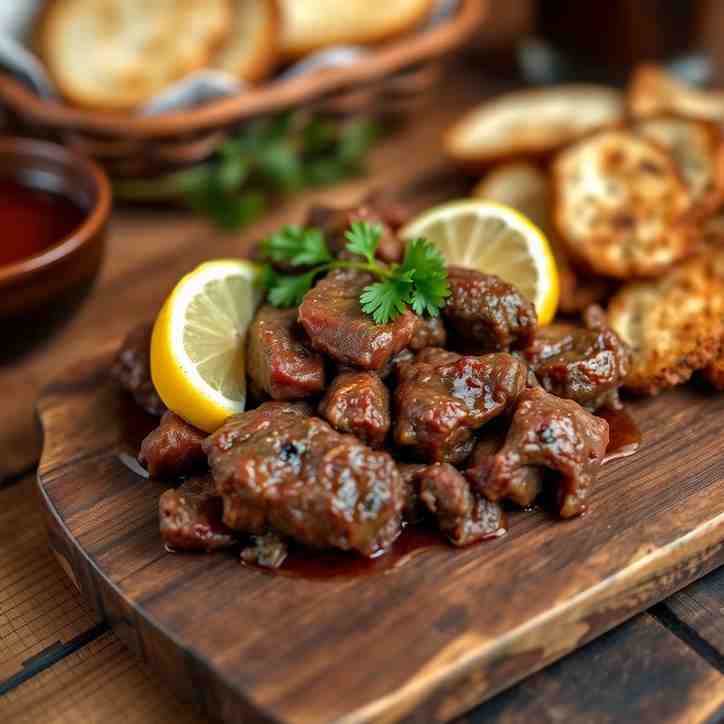
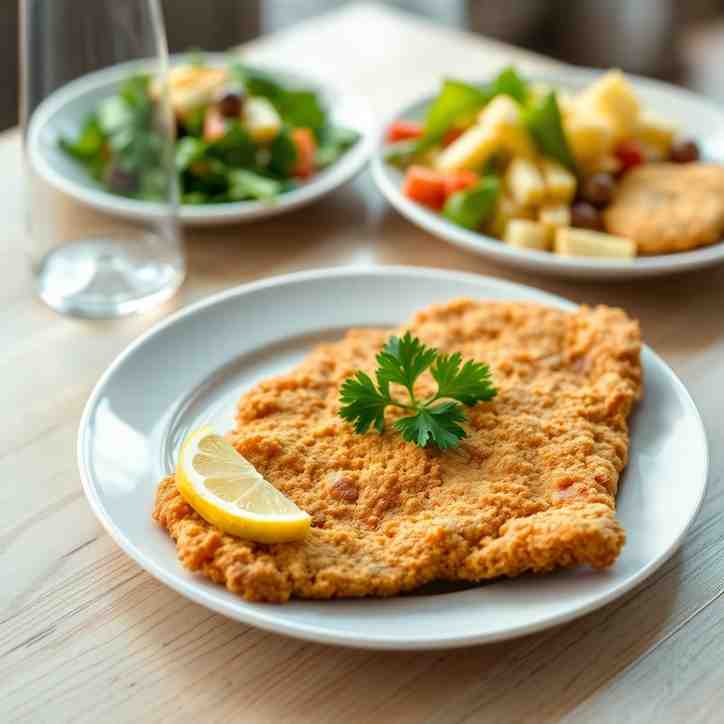
You may also like

Hey there! I’m just someone who seriously loves good food and believes that cooking doesn’t have to be complicated to be amazing. Whether it’s a quick weeknight dinner or a cozy weekend meal, I’m all about sharing easy, tasty recipes that actually work.